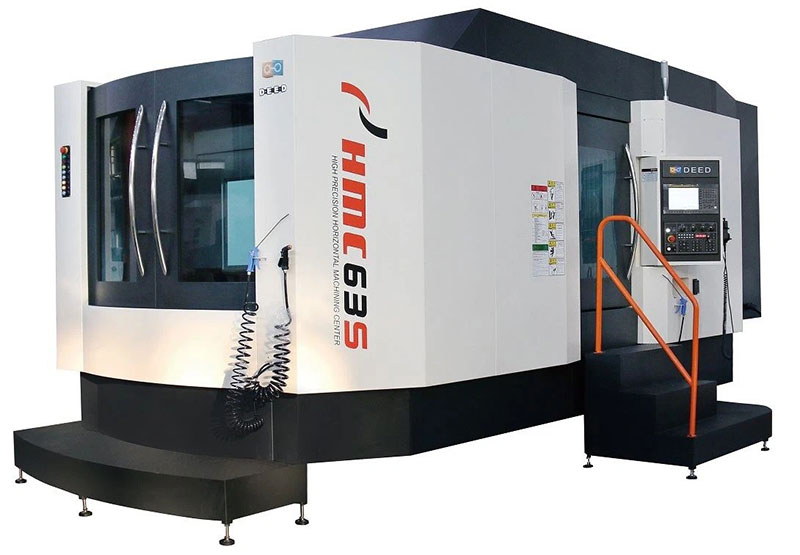
Mechanical Coordinate Measurement Method Of Horizontal Machining Center
 2025-06-29| View:
 After the workpiece coordinate system origin of one surface is set, manually calculate the workpiece coordinate system origin of other surfaces according to the compensation value and input it into the corresponding workpiece coordinate system, which is prone to error, and can only calculate the workpiece coordinate system origin at the position of 90 degrees, 180 degrees and 270 degrees of worktable rotation, and can not calculate the coordinate system origin of any rotation angle. The program can realize the automatic compensation calculation of the workpiece coordinate system origin of any rotation angle of the worktable according to the set value of the initial workpiece coordinate system origin, set a new workpiece coordinate system origin and automatically input it into the corresponding workpiece coordinate system, reduce the setting time and error probability of the workpiece coordinate system, and improve the production efficiency and accuracy.

Measuring principle:
Find out the distance Z0 from the rotation center of the worktable to the origin of the machine tool in the Z direction, that is, the position of the rotation center of the worktable in the Z direction.
Measuring method: when the worktable is at 0 ° and 180 ° respectively, move the worktable to adjust the Z coordinate so that the reading of the dial indicator is the same. Then, Z-direction rotation center = Z-direction coordinate value displayed by the display.
The accuracy of Z-direction rotation center affects the dimensional accuracy of the distance between the two end surfaces when the machine tool turns around to process the workpiece (on the premise of accurate tool length measurement).
The rotary center of the horizontal machining center can be used as the reference for a period of time after reaching the accurate value by one time measurement. However, with the use of machine tools, especially when mechanical faults occur in relevant parts of machine tools, it is possible to change the rotation center of machine tools. For example, the machine tool has a collision accident during processing, and the machine tool lead screw nut is loose. Therefore, the rotation center of the machine tool must be measured regularly, especially before machining the workpiece with relatively high precision, so as to calibrate the rotation center of the machine tool, so as to ensure the machining accuracy of the workpiece.

